Android devices
Connecting the UX-N5 directly via wireless connection and sending music to the unit
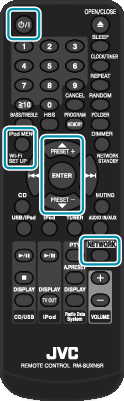
Display the Menu using the remote control.

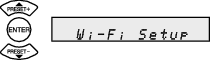
Select “Wi-Fi Setup” then press the “ENTER” button.
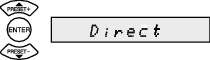
Select “Direct” then press the “ENTER” button.
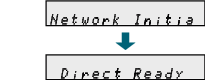
Wait for about 40 seconds until “Direct Ready” is displayed.
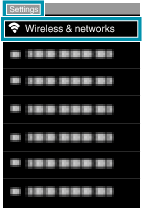
Select “Settings”, then “Wireless & networks”.
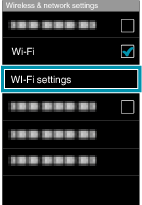
Select “WI-Fi settings”.
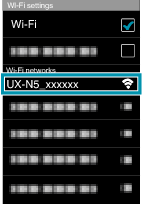
Set “Wi-Fi” to ON if it is “OFF”, then select “UX-N5_xxxxxx”.
“xxxxxx” is a model-specific number.
Start the “DLNA” application.
Note
Install the DLNA application on your Android device if you haven’t done yet. (Make sure to download the DLNA application which supports the use of Digital Media Server.)
_GGADILwsdisnxd.png)
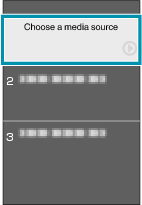
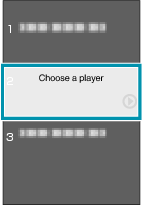
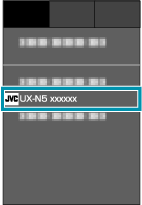
Select your device as the music source, and “UX-N5 xxxxxx” as the sound output.
Operations may vary depending on the application you are using.
Select the track you want to play back.
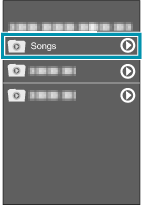
Tap the Playback icon (  ).
).
Note
When “Press ENTER to start streaming” is displayed on the UX-N5, the main unit is on standby. Press the ENTER button on the remote control of the UX-N5 while the massage is displayed.
_GGADILzjjkdltg.png)
Music is output from the UX-N5.