Getting Started with Wired Connections
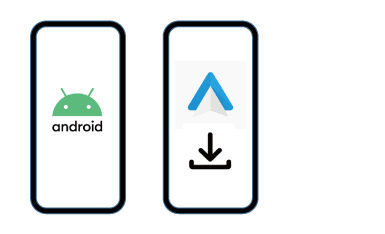
1 Setting on Android™ Smartphone/device
- 1) Check Android OS is updated to latest version.
*Over Android 10 will have Android Auto app already.
- — An Android phone running Android 6.0 or higher, with an active data plan.
- — A high-quality USB cable.
- — For wireless connection, a compatible Android mobile device with an active dataplan. You can check which mobile devices are compatible at Get started with Android Auto
(https://support.google.com/androidauto/answer/6348019)
- 2) Confirm Android Auto App is installed or install it on Google Play.

2 Connecting between Android Smartphone/device and Receiver
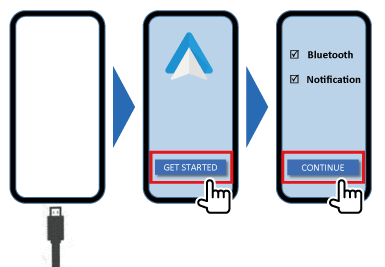
- 1) Connect an Android device compatible with Android Auto to the USB terminal using a USB cable (commercially available).
- 2) Confirm and follow the notification from the Android Smartphone/device.

3 Start Android Auto on Receiver
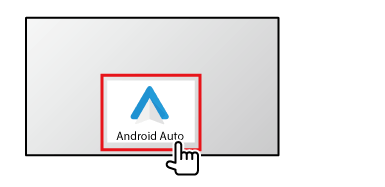
- 1) Confirm and follow the notification from the Receiver.
- 2) Touch [Android Auto] on the HOME screen or the source/option selection screen.
Start Android Auto

Preparation
Android Mode Select
- 1 Display the <Connections Setup> screen.
- 1) Press the [HOME] button.
- 2) Touch [Launcher icon] ➡ [Setup icon].
- 2 <Android Mode Select>
Select Android device usage for Apps — either [Android Auto] (initial) or [Mirroring for Android].
* This support function is depending on the owned receiver's specification.
Android Auto Auto Launch
- 1 Display the <Connections Setup> screen.
- 1) Press the [FNC] button.
- 2) Touch [HOME] ➡ [SETUP] ➡ [Connection].
- 2 <Android Auto Auto Launch>
Select whether to display the Android Auto screen automatically. Default is "ON".
* This support function is depending on the owned receiver's specification.
• Google, Android, Android Auto, and Google Play are trademarks of Google LLC.


